DIY guide · Cabinets & sideboards

How to build cabinets.

Every cabinet is a box with doors, drawers or both. How to build the box, hang the doors, fit the drawers and choose a base, with plans made to your wall.

Get started

Illustration
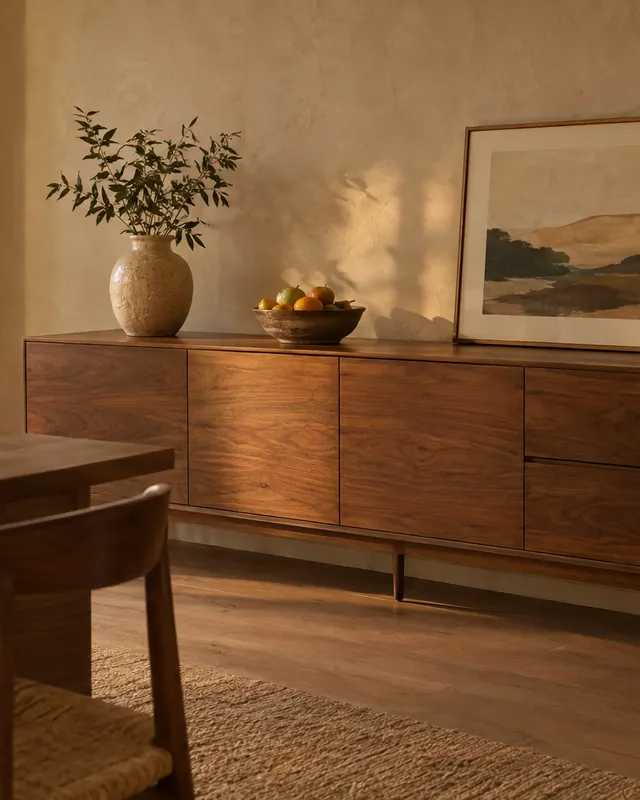
Plywood sideboardA plan to start from · 1,600 mm wide

Where to start

Pick the build that fits your experience.

Types of cabinets & sideboards

8 kinds, and how hard each one is.

Plans

4 plans, made to your measurements.

Each one becomes a 3D model, a cut list, drilling maps and step-by-step instructions, at the size you need.

Before you design

How long can a shelf be?

Books are heavy. Set the span, the material and what goes on it, and see how far the shelf bends.

Material
On the shelf

A rule of thumb for a shelf 280 mm deep resting on two supports, not an engineering check. Caminu checks every shelf in your plan.

Before you design

What to decide first.

Carcass first

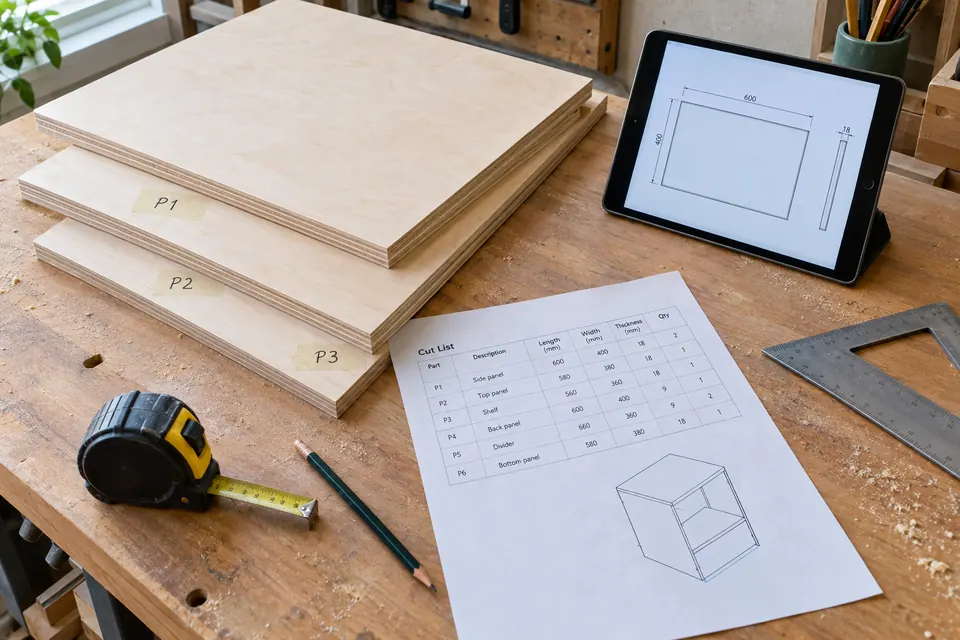
Every cabinet is a box: two sides, a top, a bottom and a back. Get the box square and the doors and drawers follow. 18 mm sheet for the box and a thinner back panel is the standard recipe.

Doors, drawers or both

Doors are simpler to build and cheaper in hardware. Drawers hold more of what you actually reach for, because nothing hides at the back. A mix usually wins: drawers at hand height, doors below.

Plinth, legs or wall-hung

A plinth is the easiest base and hides an uneven floor. Legs lighten the look and make cleaning easier. Wall-hung cabinets need a solid wall and the right fixings for it.

Plywood or MDF

Plywood holds screws well and its edges can be left on show. MDF is flatter and takes paint better, but needs its edges sealed.

Hardware

Doors, drawers and the base.

Get these four right and any cabinet follows.

  • Getting confident

    Concealed hinges

    A cup in the back of the door and a plate on the side. They adjust three ways, so the gaps around every door end up even.

    35 mm hinge-cup bit and a guide

  • Getting confident

    Drawer runners

    Side-mounted runners are the easy start. Undermount runners hide under the drawer and close softly.

    Runners and a fitting jig

  • First build

    Plinth

    A recessed base under the carcass. Level it once with packers and every door above hangs true.

    Saw, packers, spirit level

  • Getting confident

    Shelf pins

    A row of holes and small pins for the shelves to rest on. Move a shelf when what you store changes.

    Shelf-pin jig, 5 mm bit

Materials

What to build it from.

MaterialCostStiffnessEdgesFinishBest for
Birch plywood€€€Layered edge: show it off or band itOil, lacquer or paintCarcasses, shelves and drawer boxes
MDF€€€Smooth, paints well once sealedPaintPainted doors and drawer fronts
Oak or walnut veneer€€€Band with matching veneerHardwax oil or lacquerSideboards you will look at every day
Melamine chipboard€€€Needs edge bandingReady finishedInsides of utility cupboards
Moisture-resistant MDF€€€Seal every cut edgePaintBathrooms and utility rooms

Tools

Start small, add machines later.

The starter kit

Enough for every first-build plan here.

  • Drill-driverEvery hole and every screw. An 18 V one with two batteries.
  • Drill bits and a countersinkPilot and clearance holes, and heads that sit flush.
  • Combination square and tapeMarking out square to the edge, checking corners.
  • Two clampsA third hand while you drive the screws.
  • Spirit levelThe plinth level, so the doors hang true.
  • Safety glasses and a maskFor drilling, sanding and finishing.

No saw? Most timber merchants cut sheets to a list. Take the cut list from your plan and pick the panels up ready to drill.

Worth buying later

Each one opens up a new kind of build.

  • Hinge-cup bit and jigConcealed hinges on any door you make.
  • Track sawCut full sheets yourself, dead straight and splinter-free.
  • RouterRebates for backs, shaker doors, rounded edges.
  • Shelf-pin jigRows of holes that line up for adjustable shelves.
  • Pocket-hole jigFace frames and hidden joints without clamps.
  • Edge-banding ironCovers plywood and chipboard edges in minutes.

Safety

Fix tall and wall-hung cabinets properly.

A tall cupboard can tip when a door is pulled, and a wall unit carries everything inside it. Every plan ends with the fixing for that piece. Here is what holds in which wall.

  • Tall cupboardsAn anti-tip bracket into a stud or masonry near the top
  • Wall-hung on brick or concreteA cleat on plugs and 6 mm screws every 300 mm
  • Wall-hung on a stud wallInto every stud the cleat crosses, never plasterboard alone
  • Bathrooms and utility roomsStainless screws, and a sealed back edge against damp

Something else in mind?

Describe your cabinet.

Say it the way you would to a carpenter. Caminu draws it, checks the spans and writes the guide.

Sizes in mm, cm or inches all work.

Questions

Cabinets & sideboards, answered.

Plywood or MDF?

Plywood holds screws well and its edges can be left on show. MDF is flatter and takes paint better, but its edges need sealing. You can swap between them and the plan updates.

What joints do the plans use?

Knock-down connectors and screws that you fit with a drill. Every hole position, diameter and depth is on the drilling sheets.

Can I have the panels cut for me?

Yes. The cut list groups panels by material and size, so a timber yard or panel-cutting service can work from it.

Can I build cabinets without a table saw?

Yes. Have the panels cut to your cut list where you buy the sheets, or cut them with a track saw. A drill-driver and a hinge-cup bit do the rest.

What is the easiest base for a cabinet?

A plinth: a recessed box under the carcass. Level it once with packers and the doors above hang true on any floor.

From the blog

Read before you build.

Keep going

Other things to build.

What would you build if it only had to fit your room?

Show Caminu your room and describe the piece. You get the 3D model, the cut list and the assembly guide.

Start designingSee pricing