DIY guide · IKEA hacks

IKEA hacks that look built in.

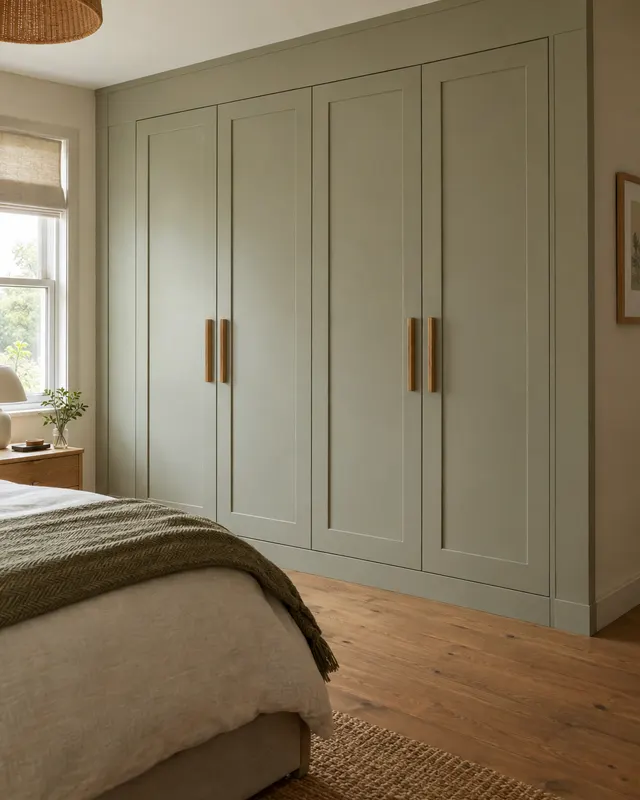
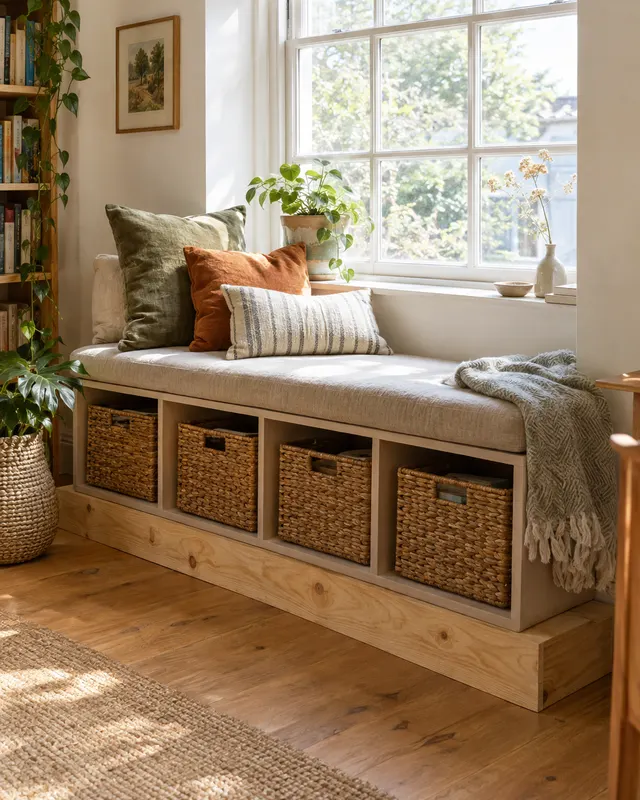
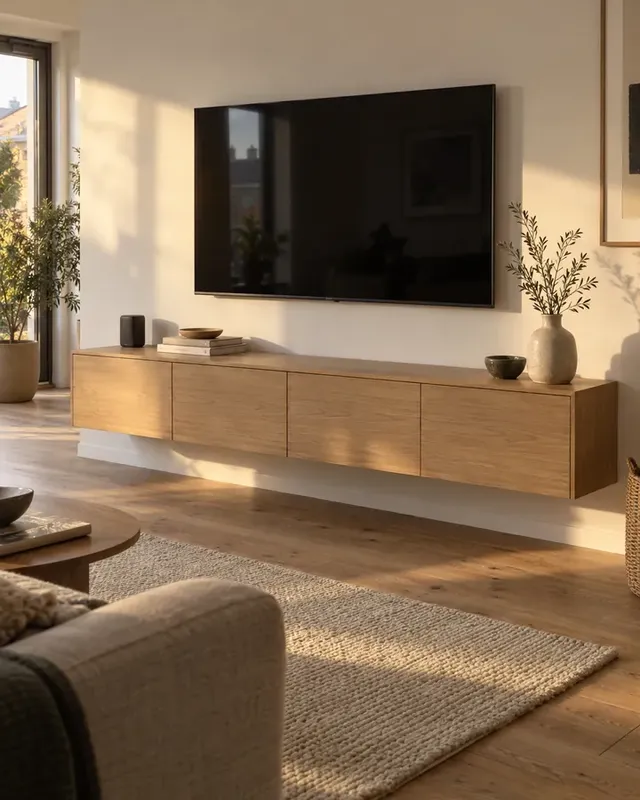
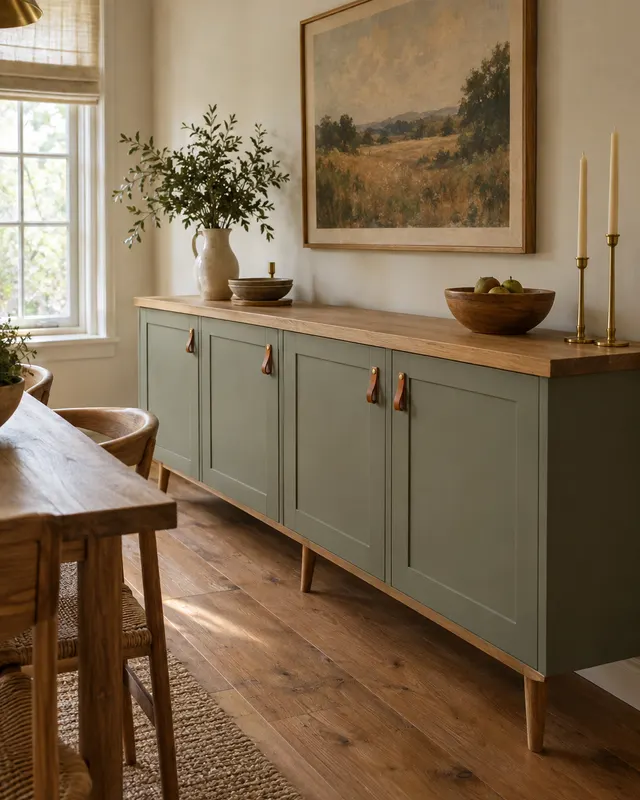
Keep the frames and lose the flat-pack look. Fill the gaps to the walls and ceiling, add a plinth and new fronts, with plans for BILLY, PAX, KALLAX, BESTÅ and IVAR.

Get started

Illustration
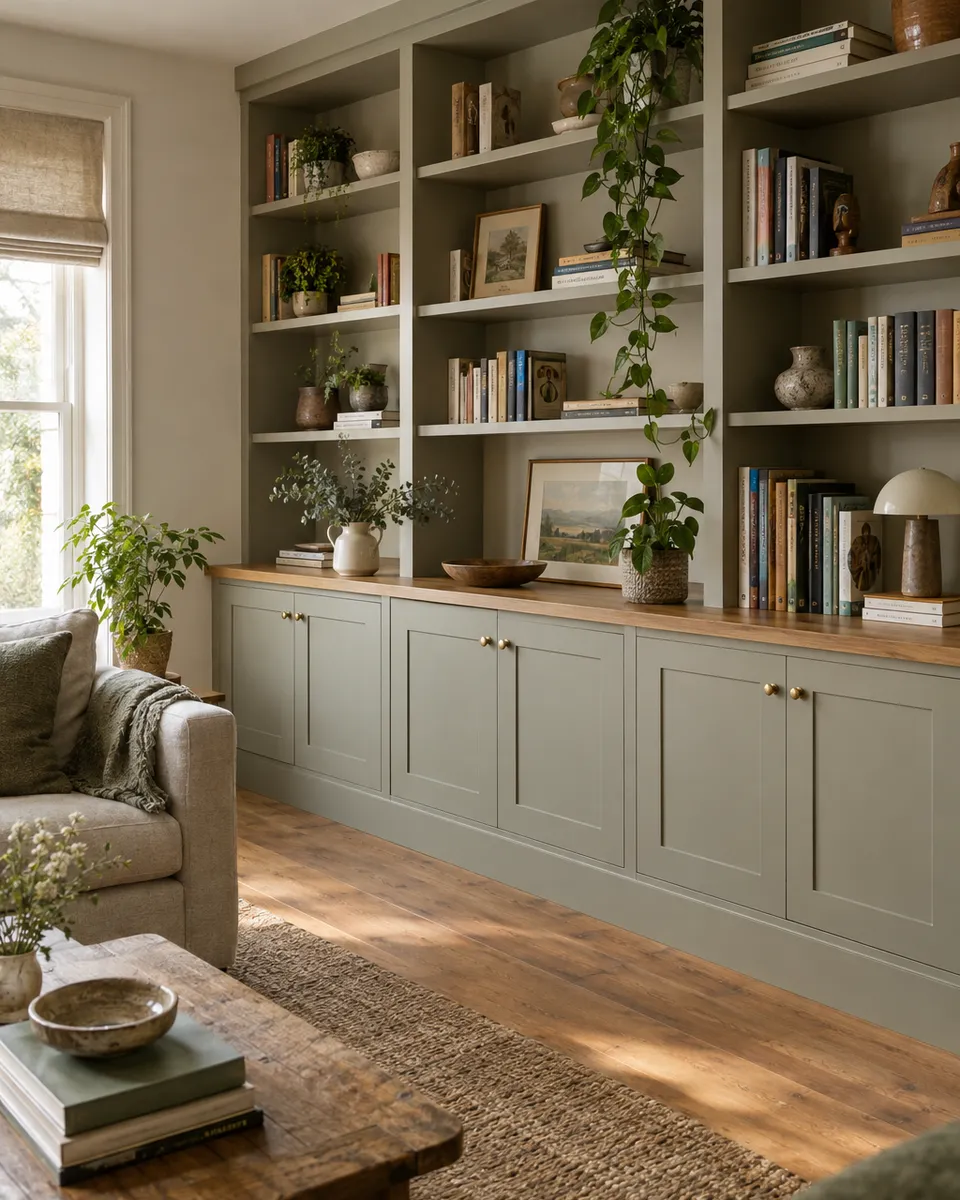
BILLY built-in bookcaseA plan to start from · 2,400 mm wide

Where to start

Pick the build that fits your experience.

An afternoon

New tops, legs and handles

Lay one long top across the units, add legs or a plinth and change the handles. An afternoon, and the furniture already looks like yours.

You’ll learn

  • Fitting legs and a plinth
  • Cutting a top to length
  • Changing handles

You’ll need

  • Drill-driver
  • Tape and square
  • Sanding block

Types of ikea hacks

5 kinds, and how hard each one is.

Plans

5 plans, made to your measurements.

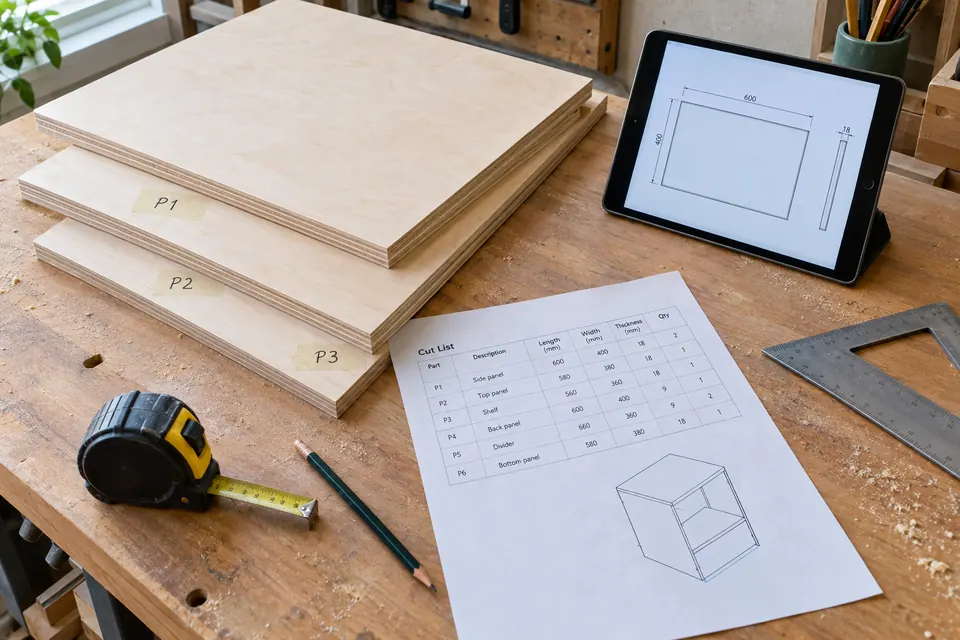
Each one becomes a 3D model, a cut list, drilling maps and step-by-step instructions, at the size you need.

Fit it to the wall

How many frames fit your wall?

Set the width of the wall and the system you have in mind. See the frames that fit best, the fillers that close the gaps and the panel up to the ceiling.

System

Frame sizes as IKEA sells them today; check before you buy. Fillers of at least 20 mm leave room to scribe to the wall.

Before you design

What to decide first.

Check what you actually own

IKEA has changed sizes over the years. Measure your frames before you start. The numbers on this page are the standard sizes of the current ranges.

Find the gaps

Measure the wall and ceiling the same way you would for a built-in. The difference between the room and the frames is what gets designed: fillers at the sides, a plinth below, a top box or crown above.

Decide what stays visible

Keep the original doors and add trim, or cover the lot with new fronts. New fronts cost more material and change the look the most.

Not starting from IKEA?

You don’t have to. Every piece here can also be designed from scratch.

Upgrades

Four upgrades that make it look built in.

Do one, or do all four.

  • Fully built in

    Face frame and cornice

    A frame across the fronts hides the gaps between units, and a cornice carries them up to the ceiling.

    Pocket-hole jig, saw

  • Weekend hack

    Plinth

    Stand the frames on a plinth: they line up, the floor stops mattering, and the skirting can run along the front.

    Saw, packers, spirit level

  • Weekend hack

    Scribed fillers

    Fillers between the frames and the walls, cut to follow the wall. The detail that makes it read as fitted.

    Compass, jigsaw or block plane

  • Weekend hack

    New fronts

    Doors made to your size, drilled for the same 35 mm hinges the frames already use. The biggest change for the least work.

    Hinge-cup bit, the original hinges

Materials

What to build it from.

MaterialCostStiffnessEdgesFinishBest for
MDF€€€Smooth, paints well once sealedPaintPainted fronts, fillers and face frames
Birch plywood€€€Layered edge: show it off or band itOil, lacquer or paintPlinths, tops and fronts with the edge on show
Oak veneer€€€Band with matching veneerHardwax oil or lacquerLong tops and doors that show the grain
Solid oak€€€Solid wood, no banding neededHardwax oilTops, legs and handles

Tools

Start small, add machines later.

The starter kit

Enough for every first-build plan here.

  • Drill-driverEvery hole and every screw. An 18 V one with two batteries.
  • Tape and a combination squareMeasuring the gaps and marking fillers.
  • Spirit levelA level plinth, so the frames line up.
  • Two clampsHolding frames together while you join them.
  • Sanding blockEdges ready for paint or oil.
  • Safety glasses and a maskFor drilling, sanding and painting.

No saw? Most timber merchants cut sheets to a list. Take the cut list from your plan and pick the panels up ready to drill.

Worth buying later

Each one opens up a new kind of build.

  • Track sawFillers, tops and fronts cut dead straight.
  • Hinge-cup bit and jigNew doors on the original hinges.
  • Oscillating multi-toolNotches around skirting and sockets.
  • Pocket-hole jigFace frames without clamps and glue-ups.
  • RouterCornices, beads and shaker fronts.
  • Paint sprayerOne smooth finish over every surface.

Safety

Fix the frames to the wall.

IKEA furniture comes with wall fixings for a reason. Built in, the frames also fix to each other and to the plinth, so the whole wall moves as one.

  • Brick or concreteWall plugs and 5 mm screws through the supplied brackets
  • Stud wall with a stud behindA long screw straight into the stud
  • Plasterboard, no studRated metal cavity anchors, two or more per frame
  • Frames side by sideJoined to each other and to the plinth before the fillers go on

Something else in mind?

Describe your IKEA hack.

Say it the way you would to a carpenter. Caminu draws it, checks the spans and writes the guide.

Sizes in mm, cm or inches all work.

Questions

IKEA hacks, answered.

Do I have to start from IKEA furniture?

No. Most Caminu projects are built from sheet material, with complete plans for every panel. IKEA frames are one way to start if you already own them.

Which IKEA series have templates?

BILLY, PAX, KALLAX, BESTÅ and IVAR. For anything else, describe the units you own and their measurements.

Is Caminu affiliated with IKEA?

No. Caminu is independent. IKEA and its product names are trademarks of Inter IKEA Systems B.V., used here only to describe which furniture a template is designed around.

How do I make IKEA furniture look built in?

Close every gap: a plinth below, fillers scribed to the walls, a panel or cornice up to the ceiling, and one finish over the lot. New fronts finish the job.

From the blog

Read before you build.

Keep going

Other things to build.

What would you build if it only had to fit your room?

Show Caminu your room and describe the piece. You get the 3D model, the cut list and the assembly guide.

Start designingSee pricing